Cedar Siding Staining Services Overview
Visitors can learn about Cedar Siding Staining services and compare local contractors who handle this work in their area.
- - Residential homeowners seeking to enhance the appearance and protection of their wood siding with professional cedar siding staining services.
- - Commercial property managers looking to maintain the durability and aesthetic appeal of cedar exteriors on retail, office, or industrial buildings.
- - Contractors and builders in need of local specialists to provide high-quality cedar siding staining for new construction or renovation projects.
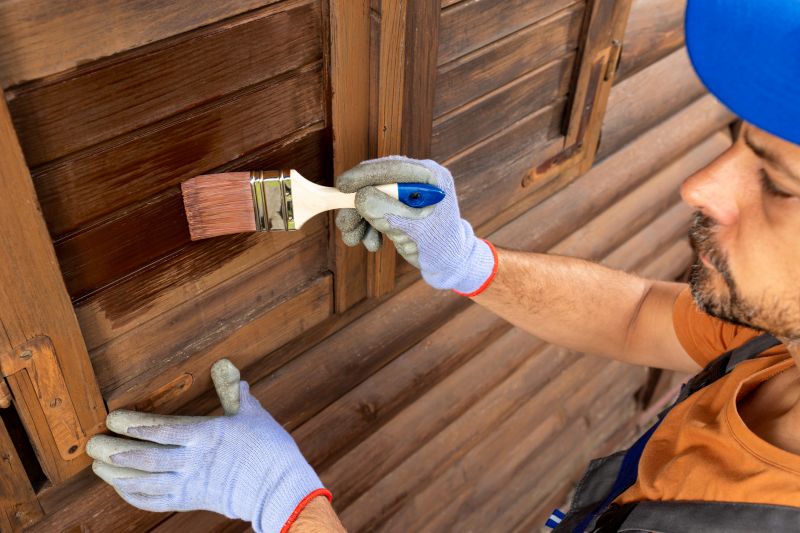

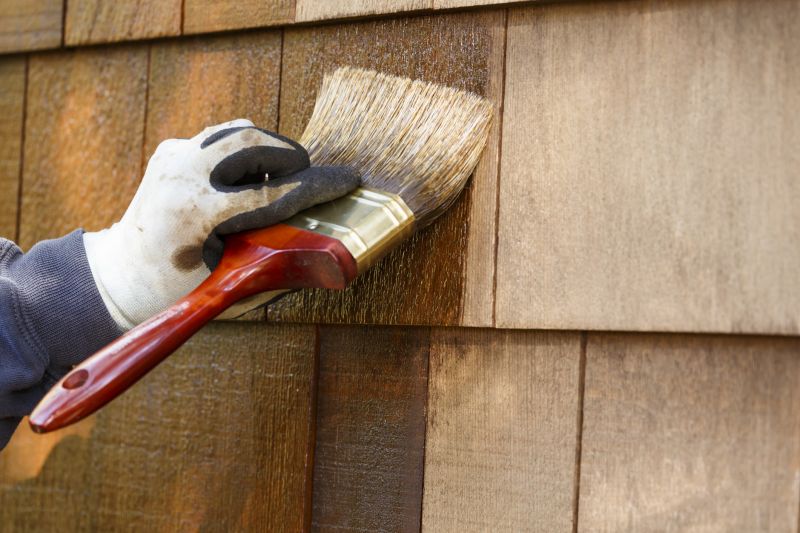
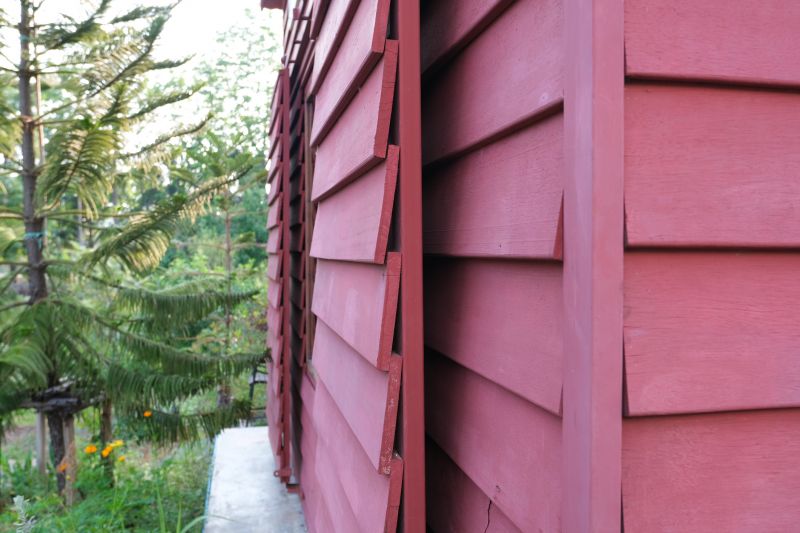
Cedar siding staining is a popular choice for enhancing the appearance and durability of wood exteriors. Property owners often seek out local contractors who specialize in this type of work to ensure their cedar siding is properly prepared and coated. These service providers typically assess the condition of the wood, recommend suitable stains, and apply finishes that help protect against weathering while highlighting the natural beauty of the cedar.
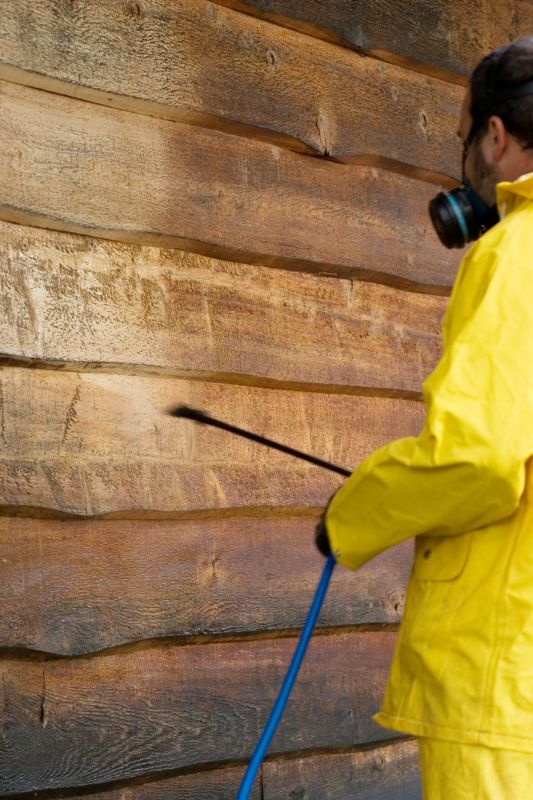
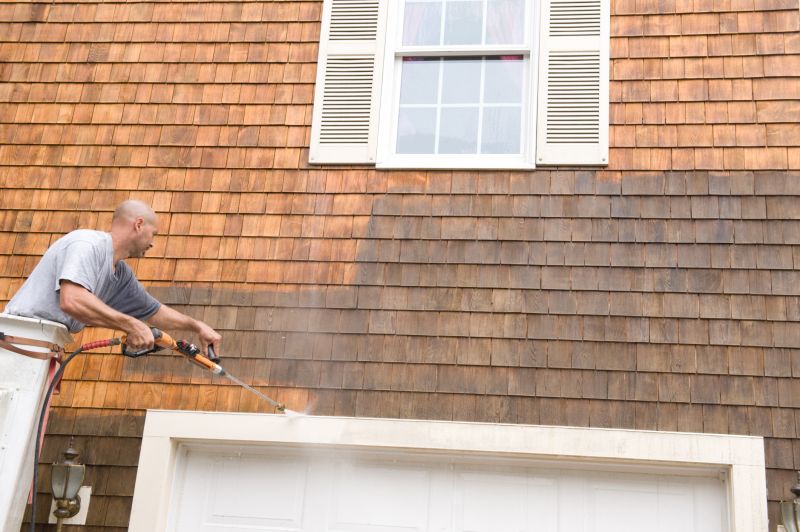
Local pros who handle cedar siding staining understand the importance of proper surface preparation, including cleaning and sanding, to achieve an even and long-lasting finish. They are experienced in working with different types of stains and finishes, tailoring their approach to match the specific needs of each property. Connecting with these skilled contractors can help property owners find the right expertise for their cedar siding projects, ensuring a professional result that enhances curb appeal and extends the life of the wood.
This guide provides helpful information to compare and evaluate local contractors who specialize in cedar siding staining. It aims to assist homeowners in understanding the key factors involved in choosing the right service provider. By highlighting what to consider, the guide helps prepare for conversations with local contractors about your project needs.